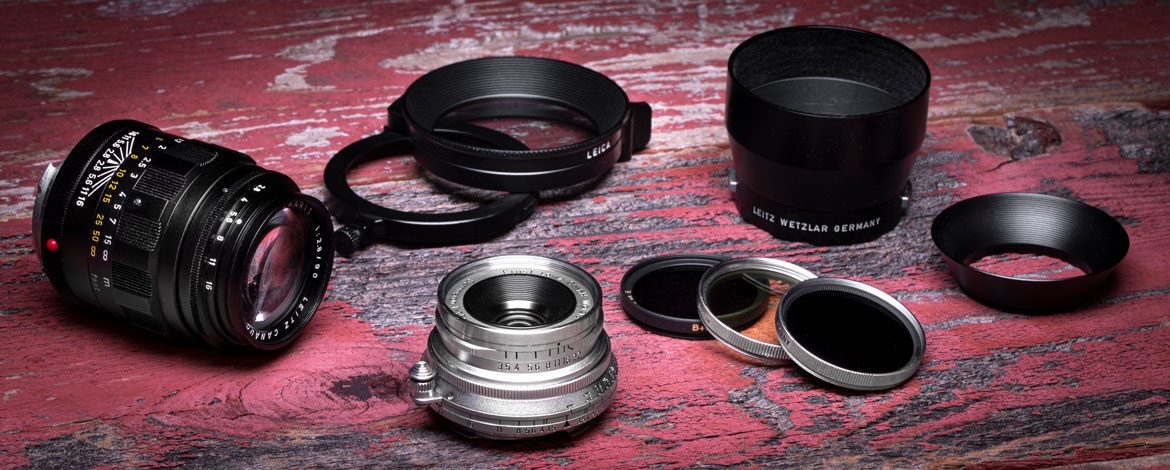
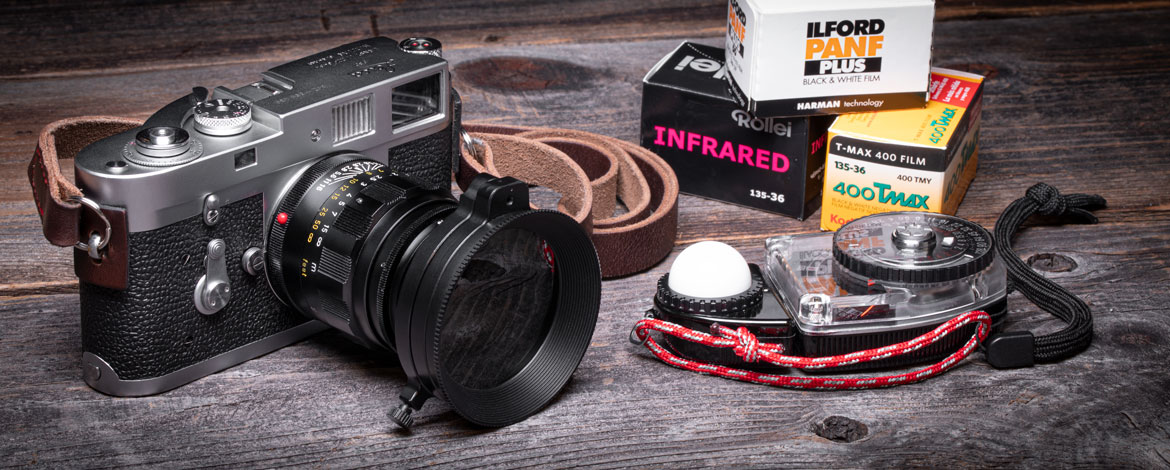
Lieca M2 Review

Thoughts on the Leica M2, Supporting Lenses & Film Types

Film vs. Digital


I’m often asked if film, actual celluloid, is better than digital photography. I would easily say the correct characterization of film is uniquely different, not better. Regarding sharpness and ability to reproduce, most photographers ten years back would agree that digital sensors where no match against traditional film; the technology just wasn’t there yet. Fast forward to today, digital sensor technologies, with their proprietary processing algorithms, have come a long way and unquestionably provide sharper looking images compared to film. However, there are certain qualities of film that digital cannot match.

Film has a light sensitive photo chemical emulsion, possessing a three dimensional grain structure and infinite in the breadth of its molecular composition (think of no two grains of sand being alike), whereas digital sensors are comprised of identically sized pixels calculated inside a finite grid. For my commercial food and architectural photography work in Las Vegas, I prefer digital for this simple reason; my clients want me to capture their product, so their customers can best experience it online, or in print, when deciding on where to visit. They want an image that is as close to the real thing as possible, not an interpretation. The other reason for digital is its speed and the ability to image stack, should layer masking need to be performed. Yes, in theory you could stack film images in Photoshop for layer masking, but even if the camera were locked in place, on a tripod, the film still shifts slightly when lever advanced; digital sensors never move. Layer masking film images will always result with slight register alignment issues.

So, with digital photography dominating the market, why still bother with film? After all, film is time consuming in that you have to purchase it for each instance of use and then pay reciprocally on the back end for development. You can certainly develop the film yourself to save money, but that involves the tedious handling of the medium in total darkness, mixing & storing of chemicals, drying time, cutting & sleeving and should you want to share the images electronically…scanning to a digital file. For storage, you’ll need air-tight archival ring binders and space in the closet that maintains a suitable temperature for the foreseeable future. With digital, you can store your entire life on one tiny flash drive.

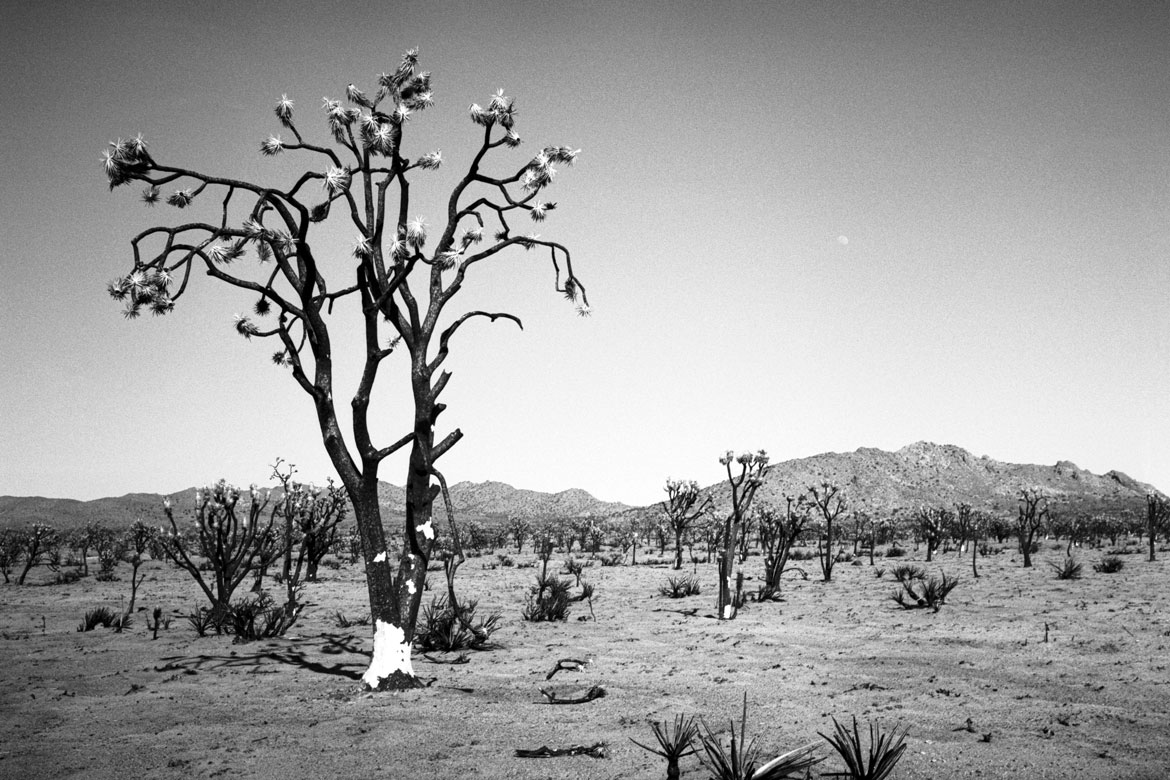
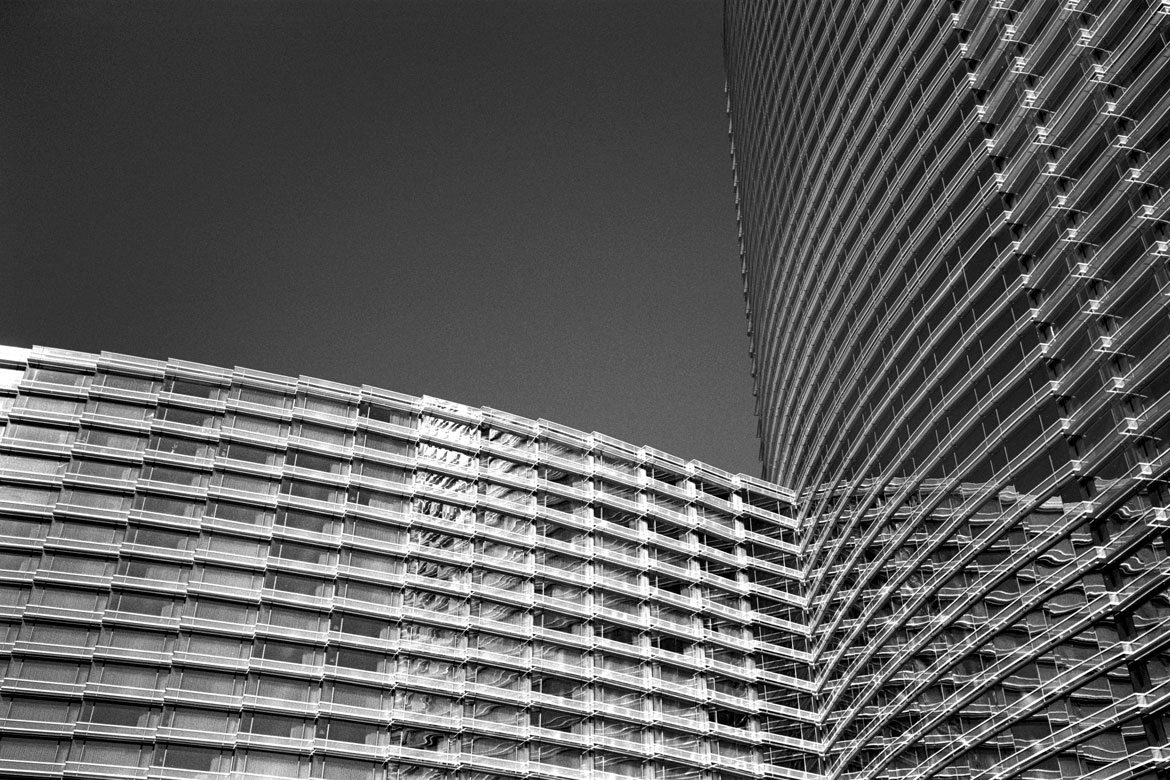
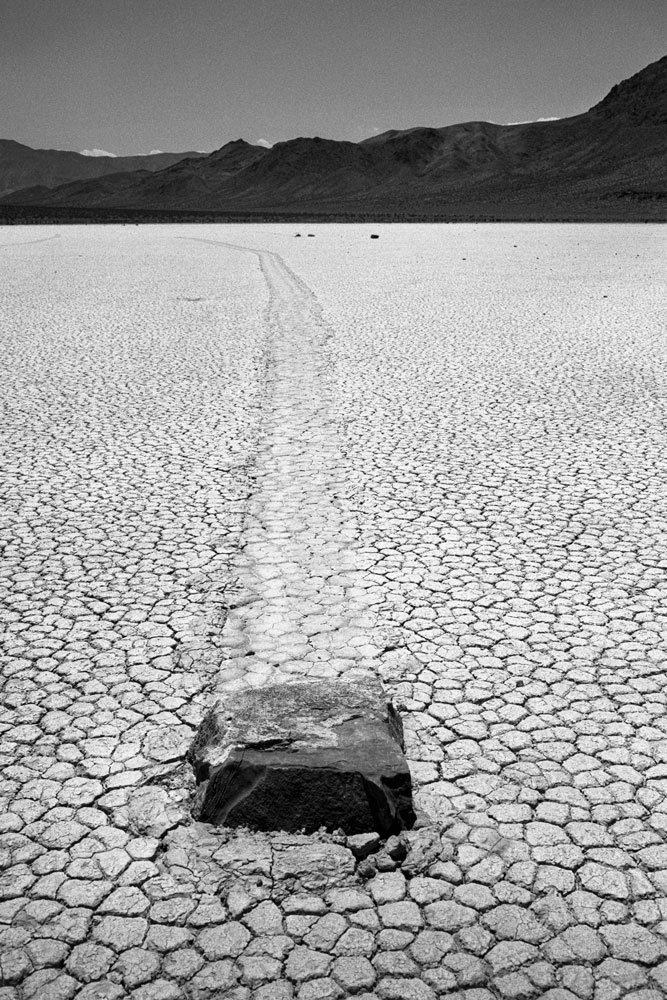
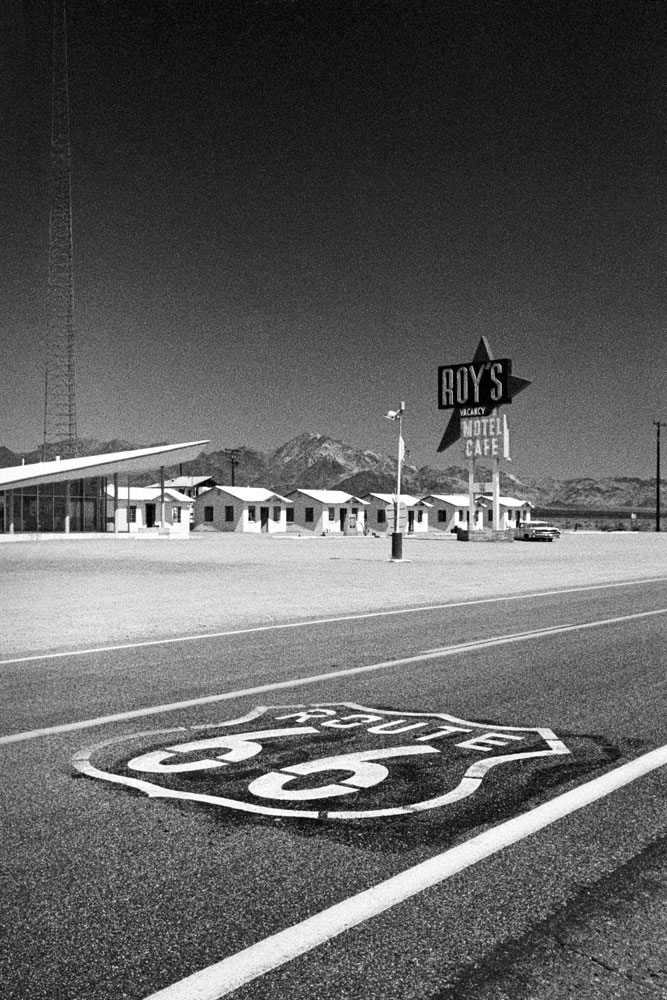
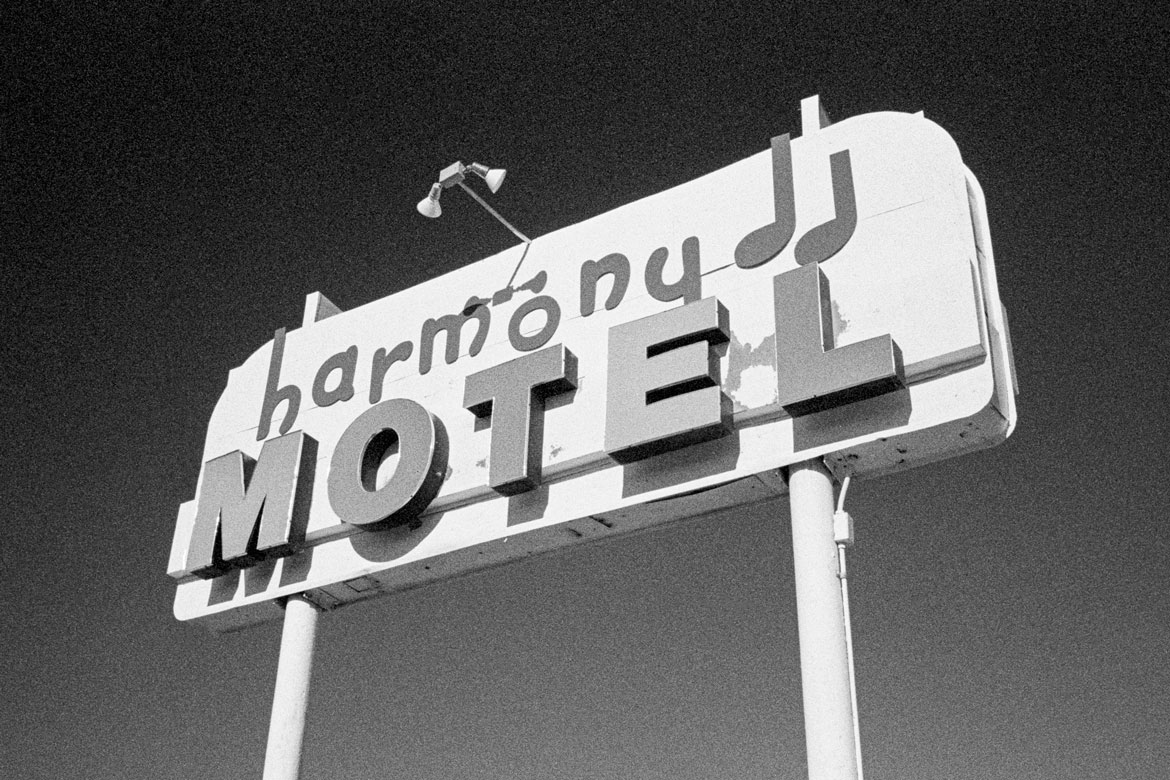
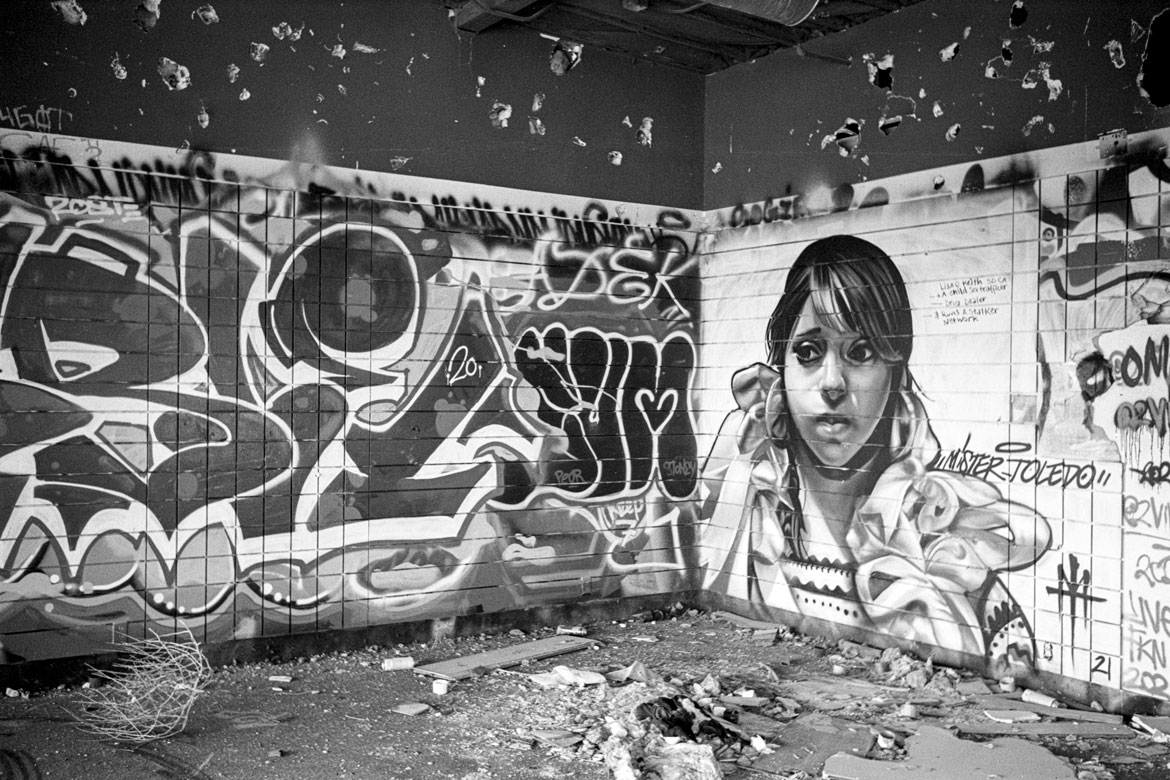
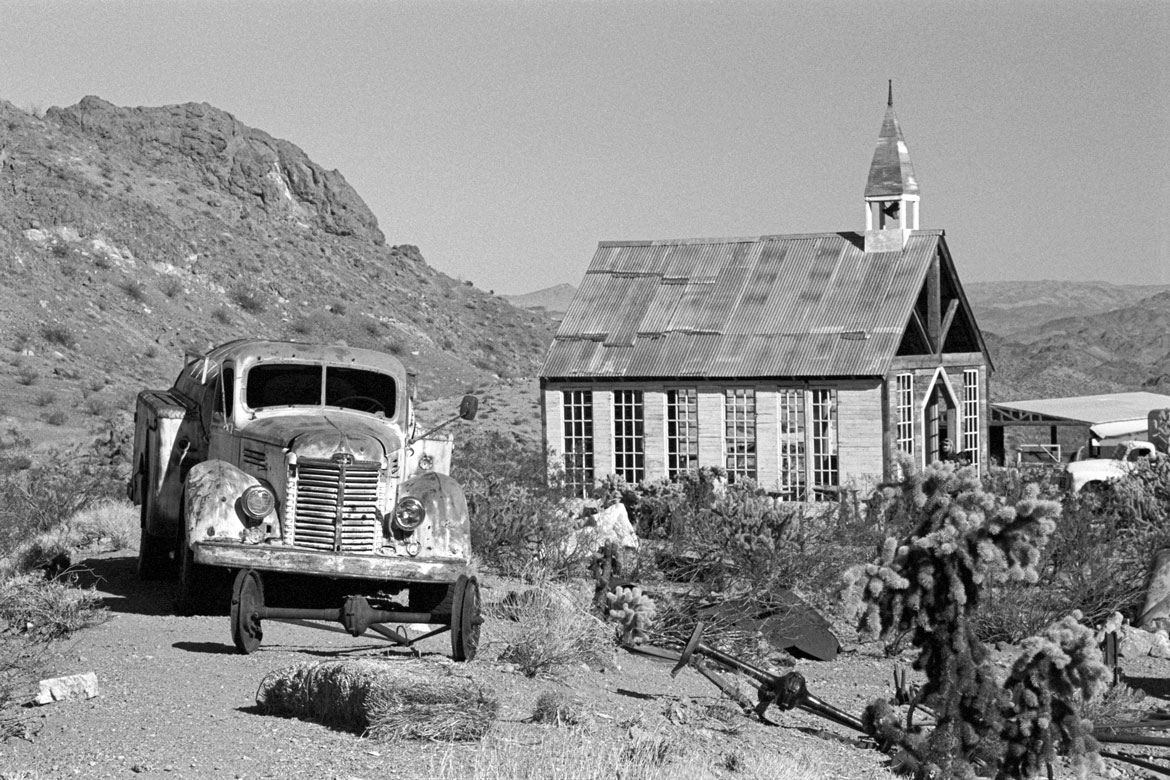
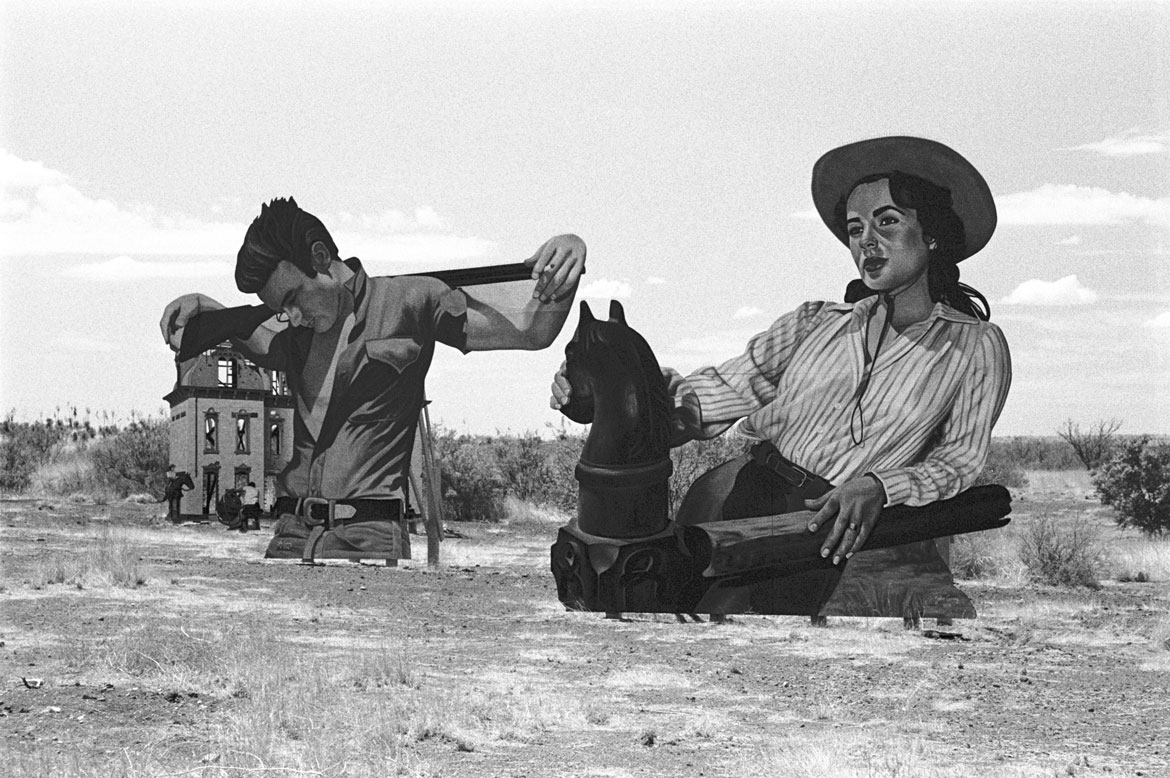
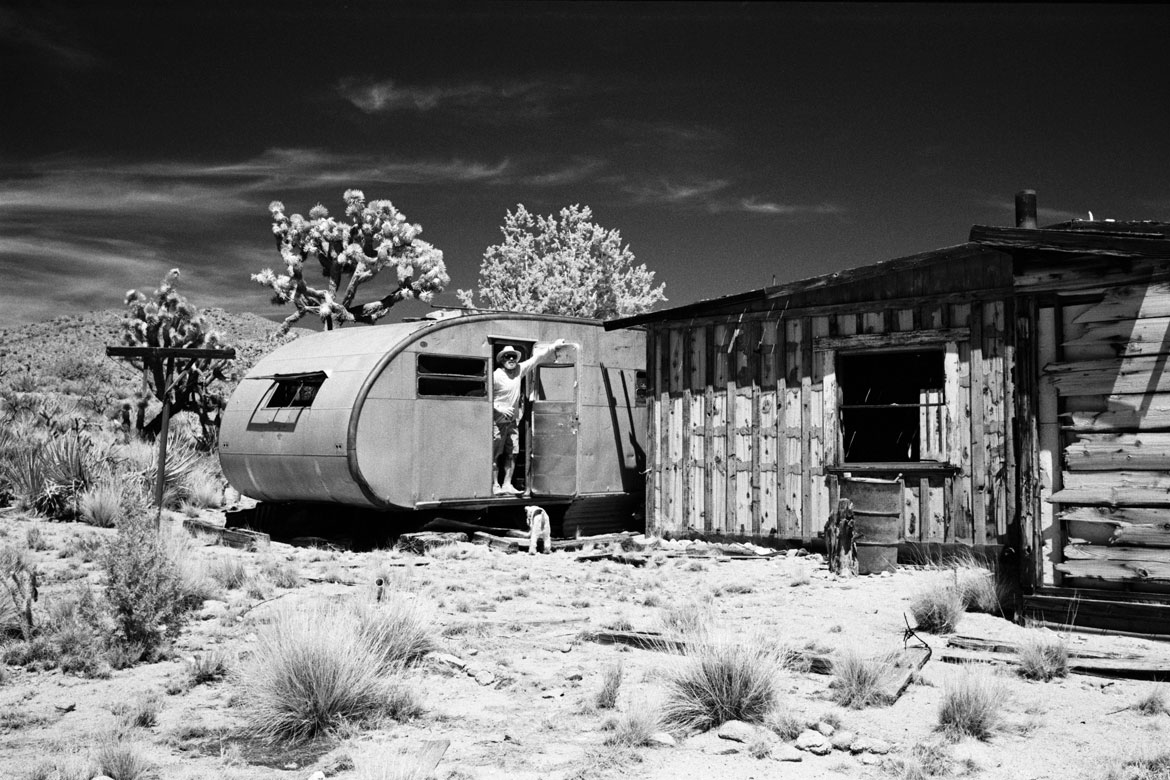
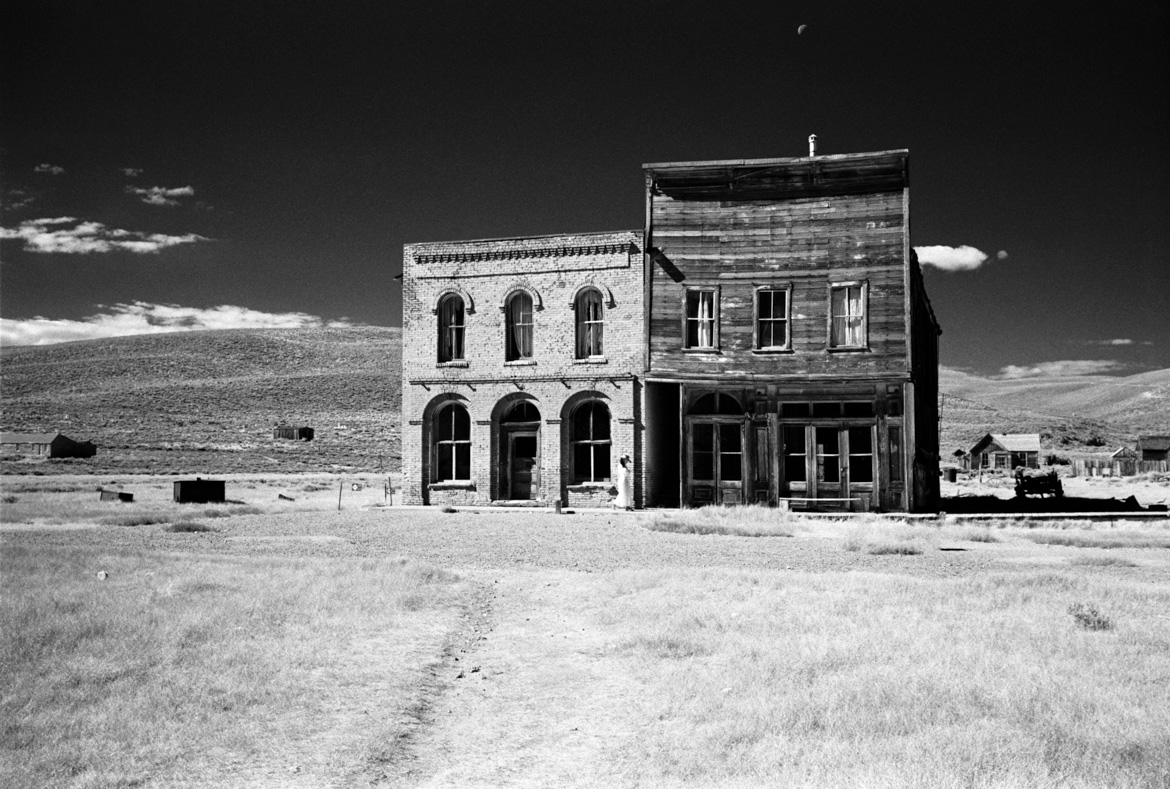
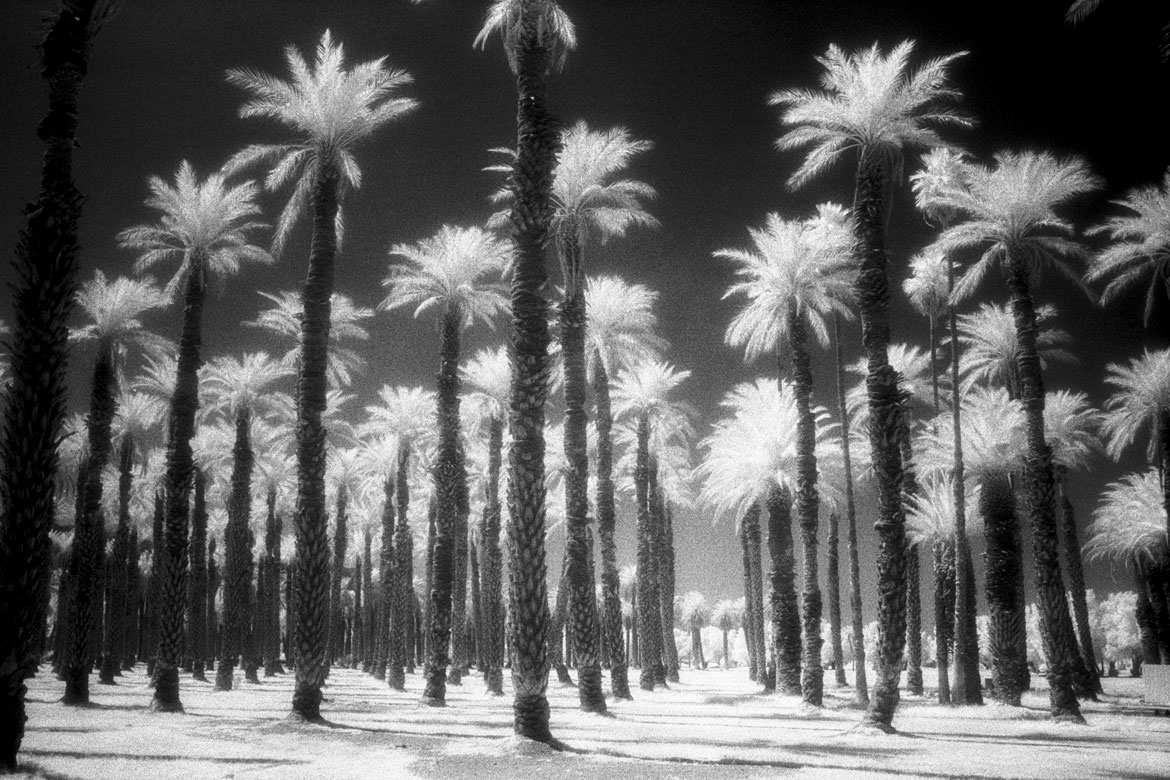
The point that gets lost is that film is an art, with a specific look that digital cannot reproduce. Yes, with the tap of an icon and the use of a thumb slider on our smartphones, we can add/subtract grain, apply faux vignetting and sepia tone for good measure too. That’s great, and I occasionally use those filters as well to add style, but there is no substitute for the authenticity of celluloid. In my life's travels, I prefer film when capturing memorable moments and places for a specific reason. Only film can give you that much desired, atmospheric and ingrained look.


Film Camera and Lenses:


For camera choice, it’s always been the Leica M system for me. And with that, I always go to my 1960 M2. I have owned several M (rangefinder) and R (reflex) bodies over the years, but the simplicity and purity of the M2’s mechanical operation, that requires no batteries and relies solely on its user for instruction, is how photography should be. Why the M2 versus the M3? Simple, the frame lines. I have no interest in shooting with a 50mm lens.

The center-weighted light metering system of the later M6 and the implementation of TTL (Through The Lens) technologies are brilliant no doubt, but when you are forced to read present lighting conditions, choose the correct aperture for depth of field, correlate that with the appropriate shutter speed and physically turn the lens’ focus barrel ring like a surgeon’s scalpel to find your exact focus point, the camera forces you to calculate the whole process through. The end result is better photography.


Side story - a few years back, I was asked to produce test images for the Samsung Space Selfie project using Sony’s latest a7S mirrorless digital camera. Before putting the camera in my hands for the first time, I said, "I need that camera in manual mode.", for the color chart test, to control shutter speed, aperture, ISO and focus. With time passing, for what felt like eternity, I finally resorted to reading the printed operations manual, just to figure out how to get the camera into manual mode. Needless to say, it was unnecessarily time consuming and incredibly frustrating. Yes, it’s a great camera that takes beautiful digital images once you understand it, but I have little patience for cumbersome and bloated electronic camera menus. Even when I shoot commercially, on my DSLR, it’s always in manual mode. With the exception to sports photographers, who are challenged with constantly moving objects (auto focus and shutter priority mode), always try and shoot in manual mode, like you own an old fashion camera. You will undoubtedly sharpen your photography skills and take better pictures when you are forced to walk the gauntlet of exposure settings and manual focusing.


Leica lenses unquestionably utilize the best glass on the planet, not to mention their over-engineered design, but much appreciated mechanics. I avoid getting too caught up in the importance of lens speed, or its ability capture photons in low-light situations. Wanting or needing a Noctilux 50mm ƒ/0.95 lens are two different things. Since I prefer to capture more tradition film images, perhaps in the style of French New Wave cinema, my 1954 Summaron 35mm ƒ/3.5 lens is the perfect choice for travel. And by no coincidence, its travel-mate, a 1970 Tele-Elmarit FAT 90mm ƒ/2.8, uses the same E39 filters! When you see the prices of quality filters this will all make sense. Backing up, most lenses have their sweet spot, or optimum image quality range, between ƒ/5.6 and ƒ/11. Thinking you need a super-fast lens may be important for portrait work, to grab that ultra-shallow depth-of-field, or that legendary background bokeh, but if travel or street photography is your thing, consider that Leica lenses increase in cost for about a thousand dollars an ƒ-stop! Beyond lens speed, are the optical elements; the count, how they are grouped and the type of advanced aspherically contoured surfaces that have been applied. Always remember, it’s the skier, not the skis.


Types of Film & Developers


What’s In the fridge?

On the top shelf of my refrigerator, to the right of the Reggiano, I normally maintain a par-stock of six to eight rolls of film. There’s no specific go-to brand, or film speed, it’s really about what I am in the mood for. I love Ilford Pan-F Plus 50 for ultra-low-grain landscape photography, but if the day calls for photographing old and dilapidated structures or gritty cityscapes, then Kodak’s T-MAX 3200 is an obvious choice. The later offering punchy contrast and a ton of noticeable, charismatic grain.


Ilford PAN-F Plus 50 Images:

Kodak T-MAX 3200

Technically, T-MAX 3200 is an 800/1000 ISO rated film that can be pushed two full stops, without significant image degradation. Since my preferred travel camera, a Leica M2, has a maximum shutter speed of 1/1000th, shooting in full sunlight creates a challenge. If using the Sunny 16 rule, I would need a shutter speed of 1/3200th. In this situation, my favorite resolve is the utilization of a Schneider B+W 0.9 neutral density filter, which knocks the light down by 3 stops. Further, to give the sky that dark, ominous look, which black and white film loves, I then apply a Leica linear polarizer filter, which adds another 1.5 stops. Combined, the two filters provide 4.5 stops. In doing the simple math, the Sunny 16 rule becomes 3200/1600/800/400/200/150 or roughly f16 @ 1/150th. The Leica M2 does not have a 1/150th shutter setting, so using 1/125th is negligible. For shooting in the shadows, where I tend to guess wrong on the exposure, I set my Sekonic L-398 light meter’s ISO setting to 200. The meter doesn’t need to know my technique, it just needs to believe I am using ISO 200 film with no other factors involved.


Kodak T-MAX 3200 Images:

Kodak T-MAX 400 vs. TRI-X 400

For general purpose, when I don’t know what I’ll be photographing, it’s either Kodak T-MAX 400 or Tri-X 400. Passing on the formulaic chemical details, T-MAX provides a very sharp image, universal grain structure and higher contrast. Tri-X on the other hand, delivers a more traditional image, pronounced mid-tones (shadow details), resulting in a lower contrast image, but with varying sized grain. Tri-X will give you that classic mid-century black & white vibe, whereas T-MAX is the refined, modern variant. Both are great films depending on your preferences.


Kodak T-MAX 400 Images:
Kodak Tri-X 400 Images:

Rollei Infrared 400

Rollei Infrared 400 black & white is one of those special films I like to load every so often. It’s a tricky film to handle and requires a special purpose. This is not a film you want to use for portrait photography, as it will turn all your subjects with fair skin into ghastly creatures. It is however a spectacular film for desert vistas, lushly covered greenscapes or dramatic architectural structures. The film is most effective on blue skies that have well-defined cumulus or cirrus clouds juxtaposed against them. Empty blue skies tend to go all black resulting in a monolithic expanse. Green foliage will render in white, providing that proverbial, dream-like atmosphere, but too much foreground grass will look like your image is overexposed. Finding the right balance of structure, sky and foliage is the challenge.

The film is super sensitive to light, so load it in total darkness. If you are in the field, carry a film changing bag. The film leader that protrudes from the film canister is capable of transmitting light down into the bulk of the film cassette, similar to light traveling through an optic fiber, so take the extra steps to prevent fogging.

For filters, you can use a deep red Leitz E39 HOOET 13126 filter or step it up to an opaque Wratten 87C variation. The latter providing a more intense visual effect. Best to shoot at ƒ/11 to ƒ/16 and implement hyperfocus. Since my Leica infrared deep red filter knocks off about 4 stops of light, I usually shoot the film at 400/200/100/50/25 or ƒ/16 @ 1/25th. Here, I use 1/30th, as what is availbable on the M2. Now, if using my 35mm lens, I may go back to 1/60th of a second, to avoid any motion blur and then open my iris to ƒ/11. You could even try 1/125th at ƒ/8. As always, it’s a give and take situation when shooting with film when the ISO is fixed. Finally, since infrared tends to produce very high contrast images, the best practice is to bracket your shots and have options in post development.


Film Developers

With digital, the attributes of exposure, contrast, shadow detail, highlights, sharpness, grain, vignetting, etcetera can be adjusted in post-edit; but the whole point of shooing film is to obtain the desired results in-camera, not with the use of post editing algorithms, or filters. With the exception of the Spot Healing Tool in Photoshop, to remove micro dust particles from the negative, I avoid the temptation of any other basic adjustments. Finally, much of a film’s final look can be further honed, in the development process. Ilford’s DD-X and Adox Rodinal are my usual stock on-hand.


Return to Fresh Greens Main Page