Hasselblad 500C 2024 Review

Why Choose Hasselblad?

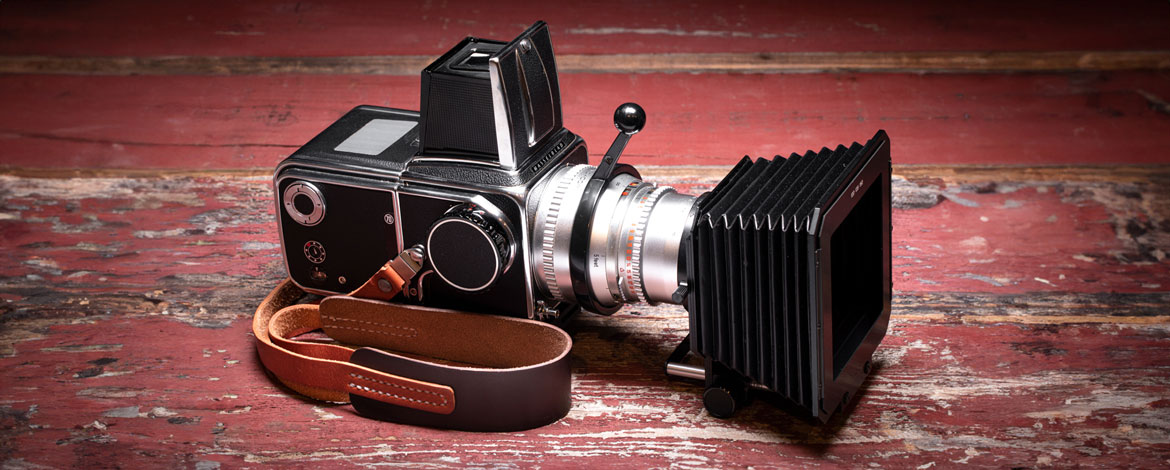
Inarguably, the Hasselblad 500C camera body and accompanying V-System lenses are considered around our blue planet as the cat’s pajamas of photographic equipment. Of course, that’s all subjective and I would agree there are other medium format cameras that can produce top-quality images to rival. There’s no denying that its signature mid-century design, modular assembly and rugged foundation are in a class above the rest. Today’s plastic composite digital cameras truly die on the vine. As soon as the latest mega-mega-pixel camera model is released, engineers are already honing next month’s mega-mega-mega-pixel version. It’s all a rouse to feed the average consumer’s insatiable appetite for believing they cannot live without the latest, greatest and newest version.


Owning a Hasselblad 500C places the photographer in a unique time in history and preserves what is principled about the craft of photography.


Hasselblad forces the user to pause and consider all the variables. Thankfully, the 500C is completely manual with its operation. There are no priority modes, light meter or auto-focus to steer you wrong. A simple understanding of the Sunny 16 Rule will set you free. It’s not a vacation camera for touring Europe, nor would anyone want to lug one to the Moon. It’s cumbersome and with a few additional lenses, film backs, filters, ring adaptors, lens shade, an inventory of 120 film and don’t forget the cable release, you’d better have a very large bag with a padded shoulder strap to tow it all. If your imagination persists, a large powerful rocket would be needed to get one to the Moon. However, knowing ahead of time what you want to capture makes it your definitive go-to camera. Perhaps you’ve photographed that special place previously with your 35mm film camera and now want to re-capture it with more real estate. Yep, film negative real estate, not pixels.


Finding complaint with the size and weight of a Hasselblad 500C is no different than griping about a 1960’s Lincoln Continental with suicide doors and “oh, what’s that huge thing behind us?” – the trunk! Yes, not always practical, horrible mileage, a parallel parking nightmare, but screw it … fill’er-up and let’s go for a moonlight drive.
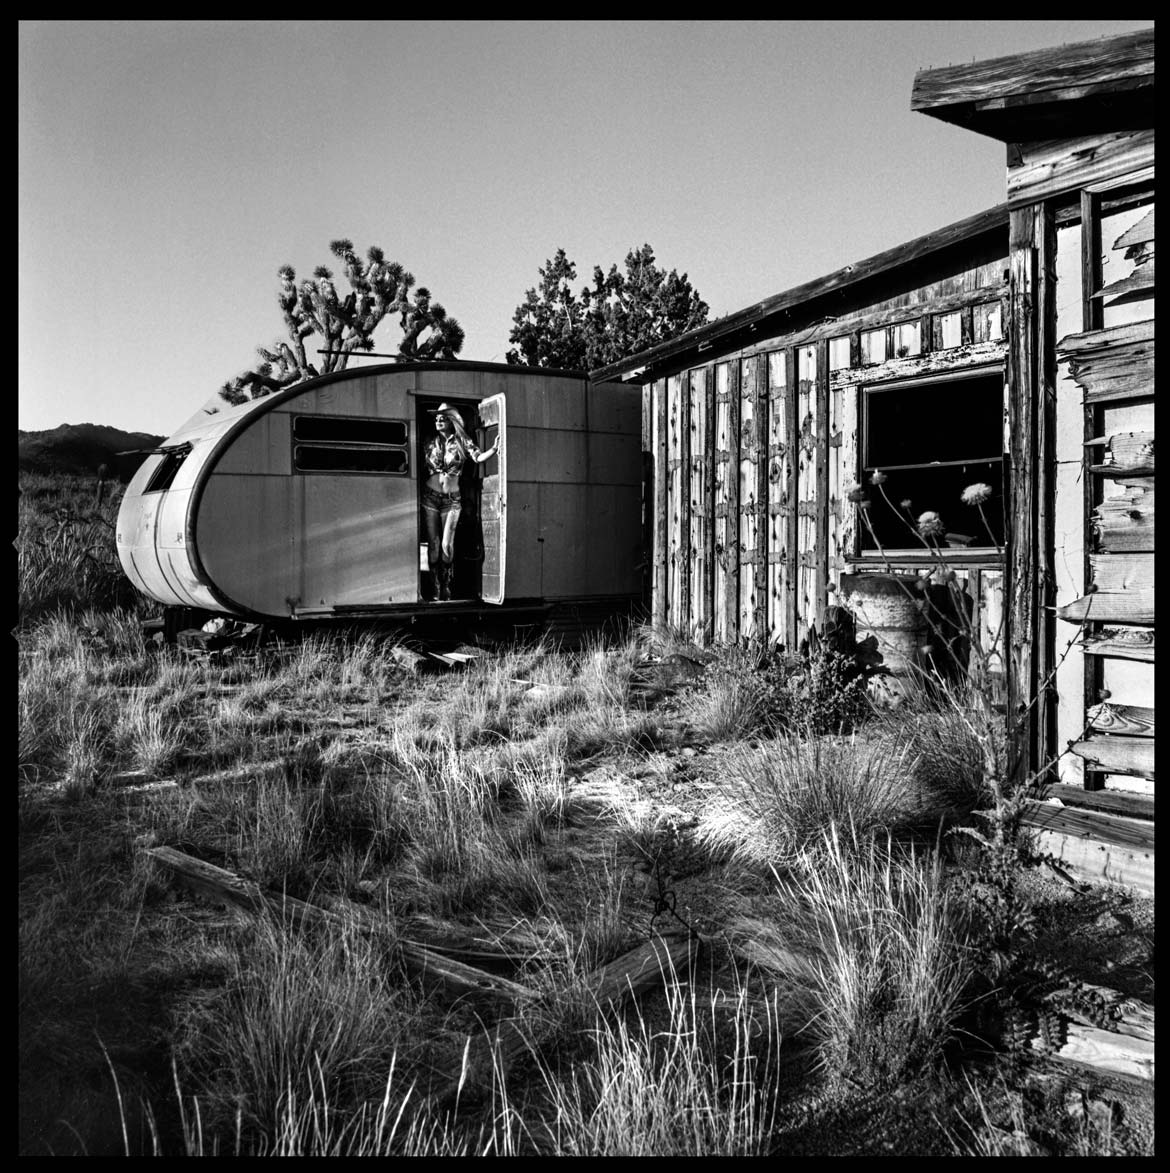
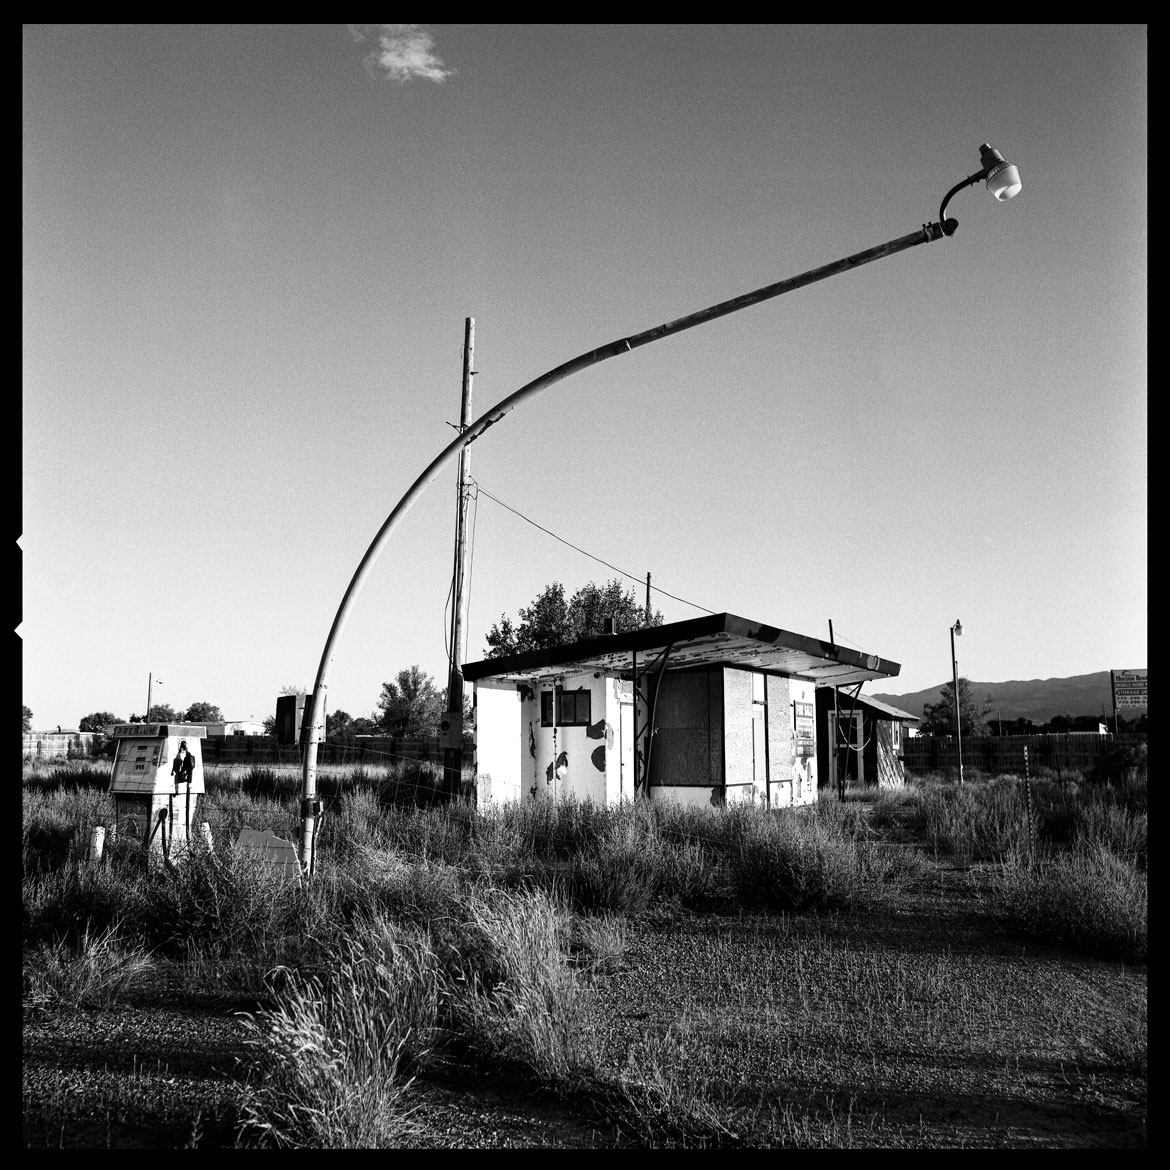
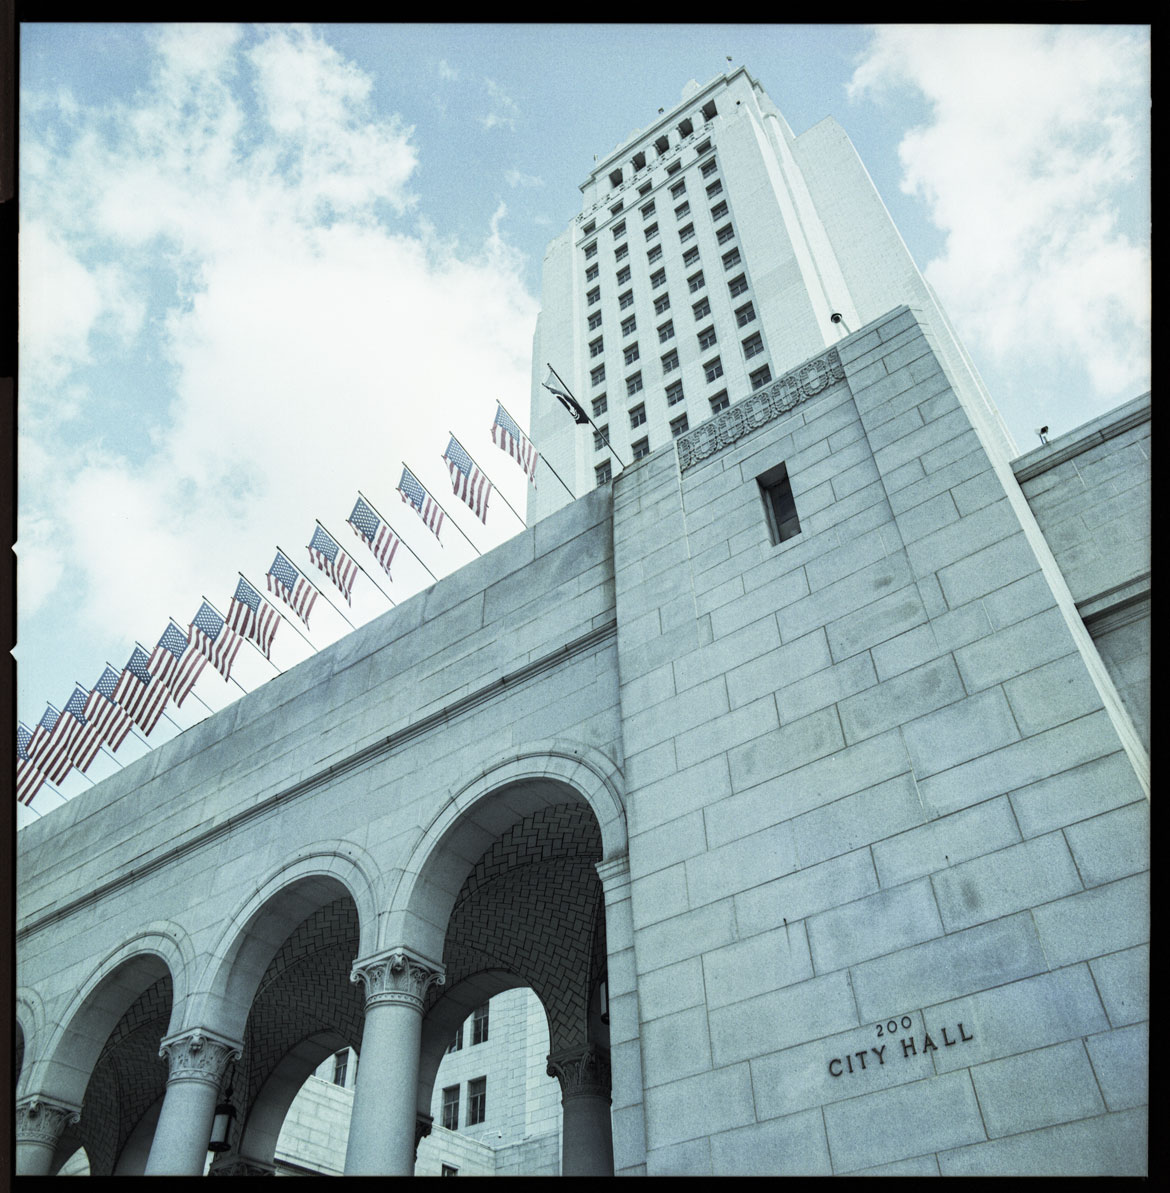
Strengths and Attributes of the Hasselblad System:


Carl Zeiss Lenses


At the top of my list are the Zeiss lenses. Any camera body can advance its film to the next frame in same fashion as the competitor’s, but not every camera can place Zeiss glass in front of that film. The clarity of Zeiss glass is absolutely stunning. With exception to film grain when cropping in, sharpness is exemplary. Focusing is super smooth, but can be a little tedious due to its long throw. I find the Quick Focusing Rings beneficial, but when coupled with a Professional Lens Shade the focus arm occasionally collides with the shade’s travel rails when dialing down on wide angle lenses. Uniformity of focus from corner to corner is near perfect, even when shooting with the iris wide-open. Vignetting is non-existent, even at wide apertures.


Zeiss lenses all utilize a Synchro-Compur between-lens shutter. Yes, the shutter is actually sandwiched between the lens’ elements, not in the camera body. Because the shutter and aperture are latched together and movement is controlled by a single knurled ring, reciprocity stays true as you change either value. By momentarily depressing a side latch on the lens, the aperture and shutter are free to move independently for a new set of values. On manual 35mm cameras, you’ll need to first change the aperture on the lens, calculate reciprocity in your head, then change the shutter speed on the camera body accordingly. When time matters this can be a convenient feature.


All of my lenses were batched in West Germany, under strict manufacturing tolerances, in the late 1960s and an absolute bargain compared to my Leica glass. Leica lenses, of course, are significantly more compact and designed for travel. Again, the trade-off, more real estate when shooting with medium format.


Film Backs


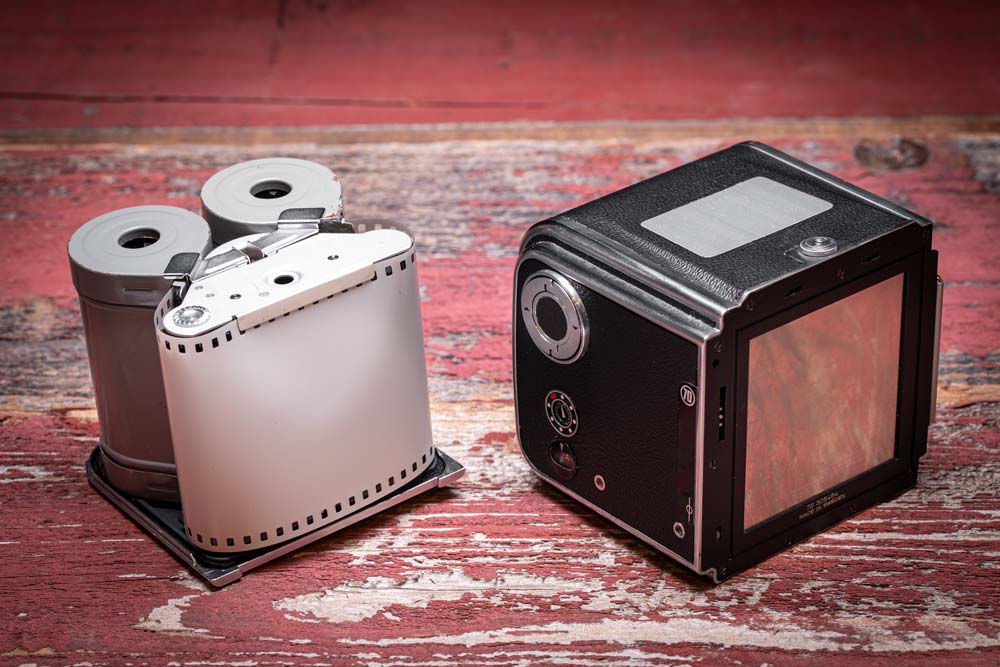
Next on my list are the film backs. Hasselblad manufactured multi-generation backs for use with 120, 220, instant Polaroid and 70mm film stocks. Additionally, the various backs offered different framing aspect ratios (measured in centimeters) of 6 x 6, 6 x 4.5 & 4 x 4 (super slide) and exposure counts of 12, 16, 24, 32 & 70. The most common back available is the 12, which loads 120 film, using the 6 x 6 format and provides 12 exposures. The 6 x 4.5 backs mat the frame for landscape composition, thus yielding an additional 4 frames per roll on 120 film. It should be noted that the numbers 120 and 220 have nothing to do with size in centimeters; they’re just the product numbers Kodak assigned in the early days. 220 is twice as long as 120 providing more exposures. At the top end, Hasselblad offered the Magazine 70, which utilizes double perforated 70mm film using the 6 x 6 format. For special purpose photography there exists a rare 70mm/500 exposure back.


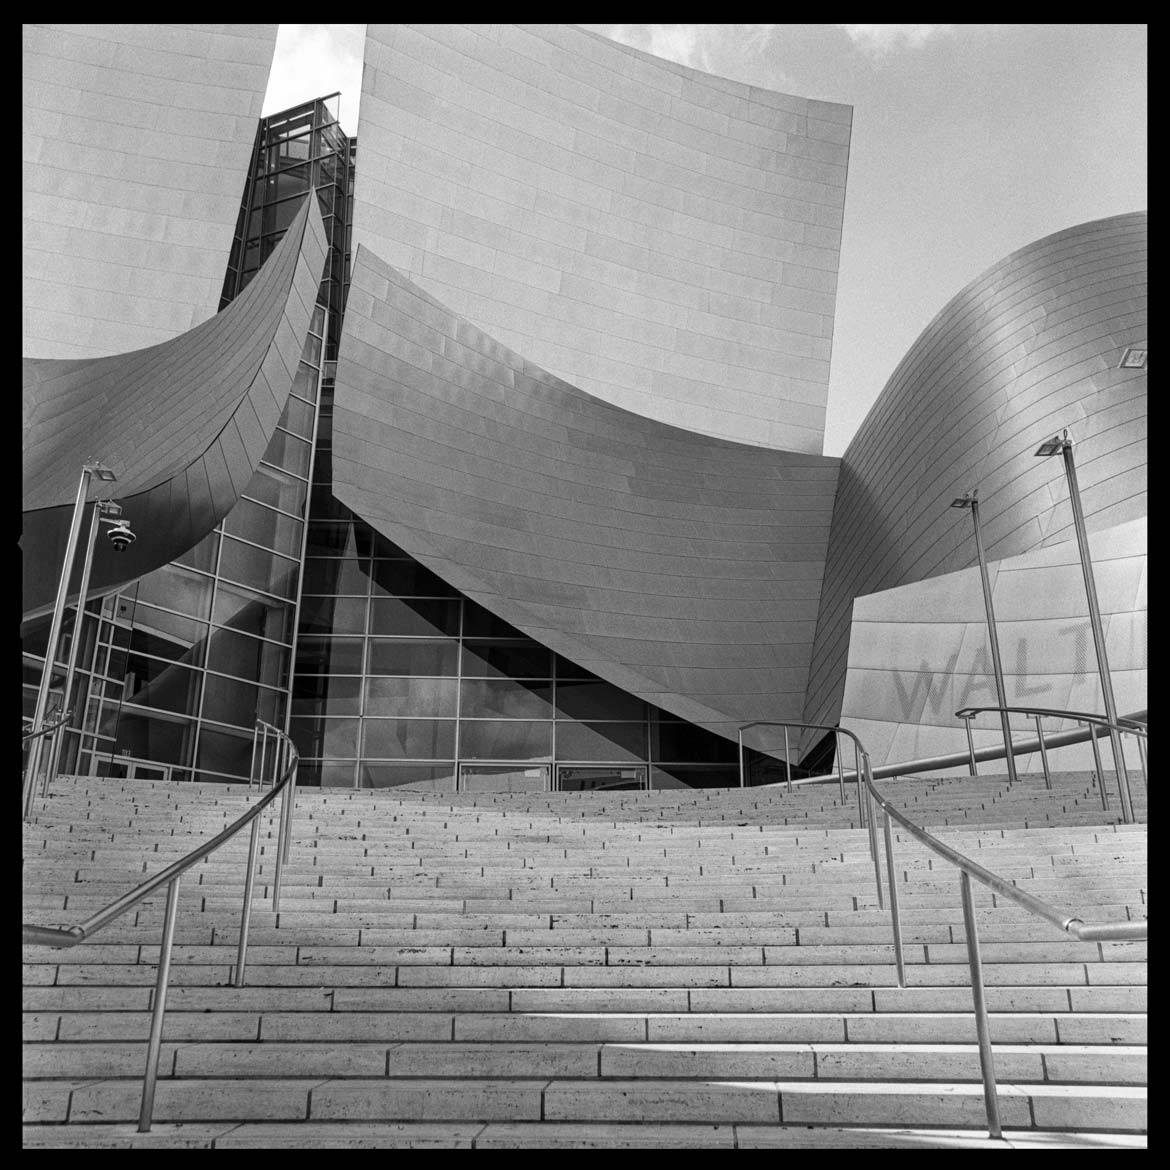
As for the 6 x 6 format (actually 56mm x 56mm on 120 film), I really enjoy the square 1:1 framing, as it gives the photographer more head and foot room. For those of you who grew up shooting with standard 35mm format cameras, which provides a 3:2 aspect ratio (24mm x 36mm), 120 film will give you, free of charge, a basement speakeasy and rooftop lounge. Naturally, this is a bit arbitrary since you can crop a 1:1 frame from a 3:2 negative. The drawback being more grain, as you push in on a smaller footprint, or real estate.


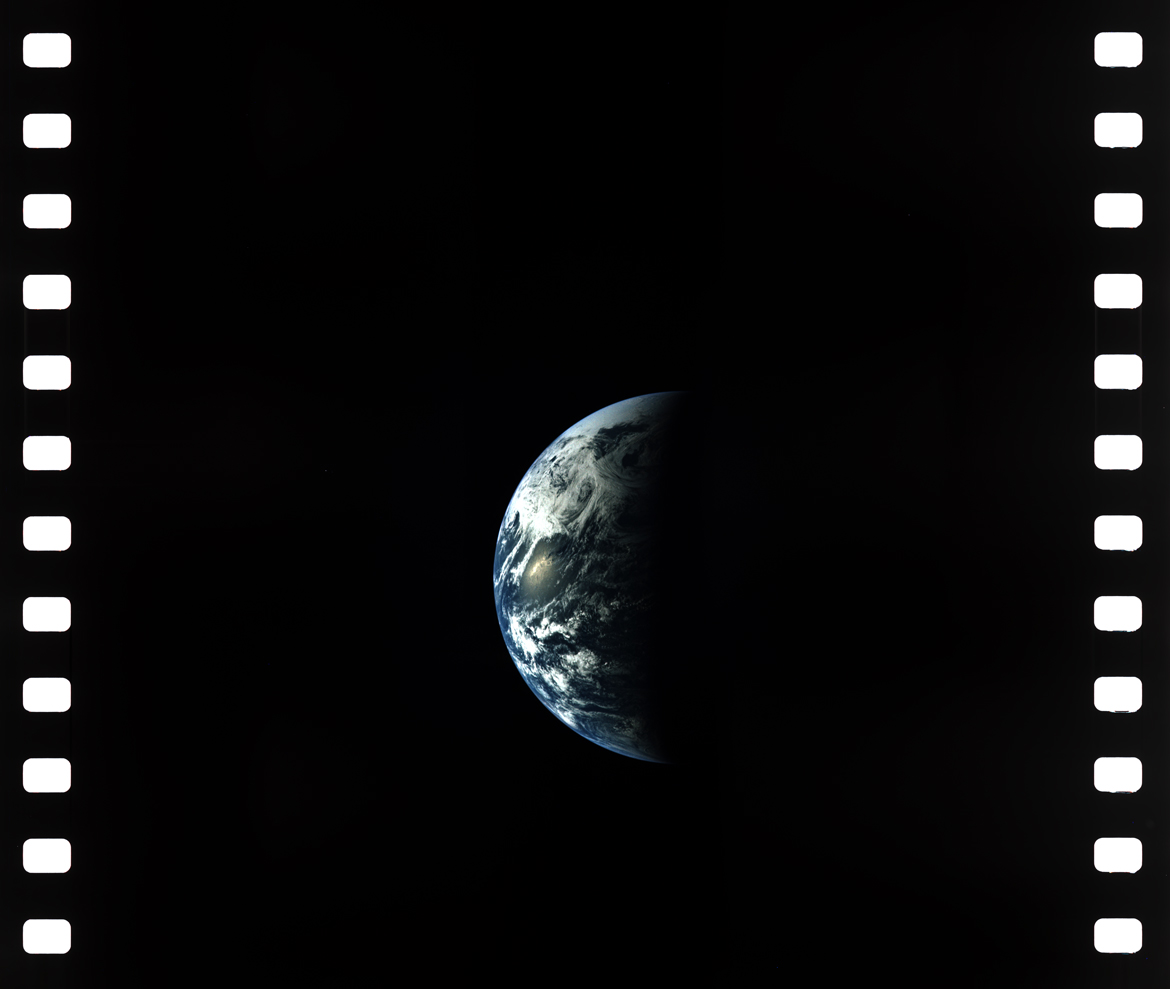
Double perforated 70mm film was selected since it already existed for high-volume, aerial photography in military applications and 70mm movie theater projection. Technically, 70mm movies were shot with 65mm film stock then transferred to 70mm for the release print. The extra 5mm space was required for the accompanying magnetic soundtrack. Shooting on 70mm film today is generally for nostalgic substantiation. “Double perf” was discontinued in the early 2000s, but old stock can be sourced online. Be sure to handle expired film accordingly by overexposing it 1-stop per decade of time; ISO 400 becomes ISO 100 if the film is twenty-years expired. Yes, you can also push the film in the development process, but shooting at box speed is always recommended, as other issues of grain and contrast will be greatly affected. Box Speed (the ISO number printed on the box) is what the manufacturer has pre-determined as the best ISO for the emulsion formula. Finally, anticipate some fogging in your images if the film is super old, as a by-product of the film’s age. If no fogging occurs, you’ll be over the moon!


Another huge advantage is the ability to swap film backs mid-roll. With 35mm you’re committed to finishing the roll before changing the film. Yes, you can remove the film mid-roll in total darkness, taking note of the frame number, reload it later and advancing it to the same frame number with the lens cap on, but that’s impractical not to mention risky.


I often carry up to four backs, loaded with various manufactures’ black & white or color film and differing ISOs. Hasselblad ceased manufacturing film backs when digital came to fruition, but old inventories are plentiful. The only downside is their temperamental behavior. You’ll need to swap-out (easy job) the light seals every few years and occasionally perform a Clean, Lube & Adjust (CLA) on the mechanical gearbox (simple too, but time consuming). The aforementioned maintenance is much like working on a giant Swiss watch minus the need for an electron microscope and a Mighty Mouse screwdriver & tweezer set. For the camera body and lenses, I recommend sending those to a professional for their CLAs.


View Finders


Around the age of five, my parents dragged me to one of those summer shindigs, at one of my father’s business associate’s house. While wandering around that huge backyard [because that’s where you leave your kid during “grown-up talk” while indulging in gin & Fresca cocktails accompanied by miniature Beef Wellingtons (wieners wraps) and cheese fondue] there was a photographer who was busy with this odd-looking camera - a Hasselblad. Even though he wouldn’t let me hold it, he did allow me to look down through the view finder - I was mesmerized yet confused at what I saw. Albeit the image in the view finder was right-side-up everything else in the scene was flipped laterally; things on the left appeared on the right. What was that all about? That has always been a poignant memory and I still recall it every time that view finder pops up.


Through the 1960s, all Hasselblad 500C cameras, when purchased as a kit, came with the basic Waist Level View Finder and an 80mm f/2.8 Planar lens.


In medium format photography, the 80mm lens is the 50mm equivalent when compared to the 35mm format - your general-purpose lenses. This comparable is due to the increased distance from the back of the rear lens element to the film plane. Because medium format film is much larger it requires a longer focal length to provide the same field of view.


As an upgrade, Hasselblad offered a rigid Magnifying Hood and several Prism Finders, each offering eye-level versions, or a 45-degree approach angle for the user. The main advantage with a Prism Finder is the image correction, providing right-way-round. Although challenging at times, I prefer the standard Origami-style finder for its simplicity, compactness and most of all its iconic appearance. Whether collapsed or popped-up, it gives the camera its snappy and recognizable appearance. There’s rarely a day out with my 500C that a passerby makes the inquiry “Hey, what kind of camera is that?” Peering from the top down through a camera is something you just don’t see anymore.


Sandwiched between the view finder and camera body is the standard Fresnel-style focusing screen. For landscape and architectural imaging, focusing with a wide-angle lens is relatively easy, as you’re almost always near the infinity focus mark and depth of field is plentiful. Best practice is to employ a tripod, stop down on the iris and apply a slight hyper-focus to bring the foreground in-play. For longer focal length lenses, especially when used for portrait work, focusing is far more critical, as depth-of-field is significantly shallower. In 1970 Hasselblad introduced the 500CM model, which allowed the user to easily swap out the focusing screen, to an improved Acute Matte version. For the 500C models, it’s advisable to have this done by a trained technician, to ensure proper calibration and collimation.


Ever wonder what that tiny circle with the vertical line striking through it is [ Φ ], placed on many film and motion picture cameras? That tells you exactly where the film plane is. Before video preview was available, camera operators would use a tape measure to find the exact focus distance from their subject’s eyes to the film plane. The defined distance was then set on the lens’ focus ring for best accuracy.


Filters


Filters are a thing of individual choice. I normally place a clear UV or Haze Filter on my lenses simply to protect the front elements. Lens caps are a nuisance. They often grow legs and walk off on their own. However, I always use the rear cap since that element is equally as important to protect.


When shooting black & white film and conditions are just right (white clouds against a hazeless clear blue sky), I typically place a red filter on my lens for that punchy high-contrast black & white capture. Yellow and orange filters provide a similar effect as red, but to a lesser degree. Blue and green filters were popular for transforming landscapes rich with growth, but much of that was a trend of the times. Softar filters will definitely smooth skin tones out, but they also dumb-down the overall sharpness of your image. They were heavily used in fashion & portrait photography at a time when Photoshop tools did not exist. I do appreciate purists who still use them today, while keeping the art alive.


If you are totally confused with Hasselblad’s filter numbering system and dumbfounded as to why some are threadless drop-ins held in place by a threaded retainer ring, while others are bayonet-style … welcome to the club. I’m sure their engineers and sales team both came to an agreement on how to catalogue them, but for the rest of us it’s utterly convoluted. Without standing on my apple box and going into a lengthy dissertation about all the combinations and alternatives, do your research before buying. Also know, there are plenty of work-a-rounds to using other manufactures’ filters, married with the appropriate adaptors. However, do not go cheap by thinking a drop-in colored-gel filter will be a good match with that beautiful Zeiss glass.


Early on, Hasselblad never offered neutral density filters for the C lens series, that I know of. Yes, you can find third-party filters that will work, but having perfectly matched Hassey-branded glass would have been great. I always saw this as a missed opportunity for their sales. Then again, the solution was to swap film backs by using a lower ISO film for daylight situations.


Production Dates


Determining production years for Hasselblad 500C cameras is easy. Victor Hasselblad married his initials “VH” with the word “pictures”, arriving with VHPICTURES. By assigning the number “1” to the first letter “V” and following suit, a 1969 component’s serial number would begin with the letters “TE”. All of my components bare the TE impression. Not that anything special, or historic happened that year, but it’s nice to own a matched set.


Setting the Record Straight


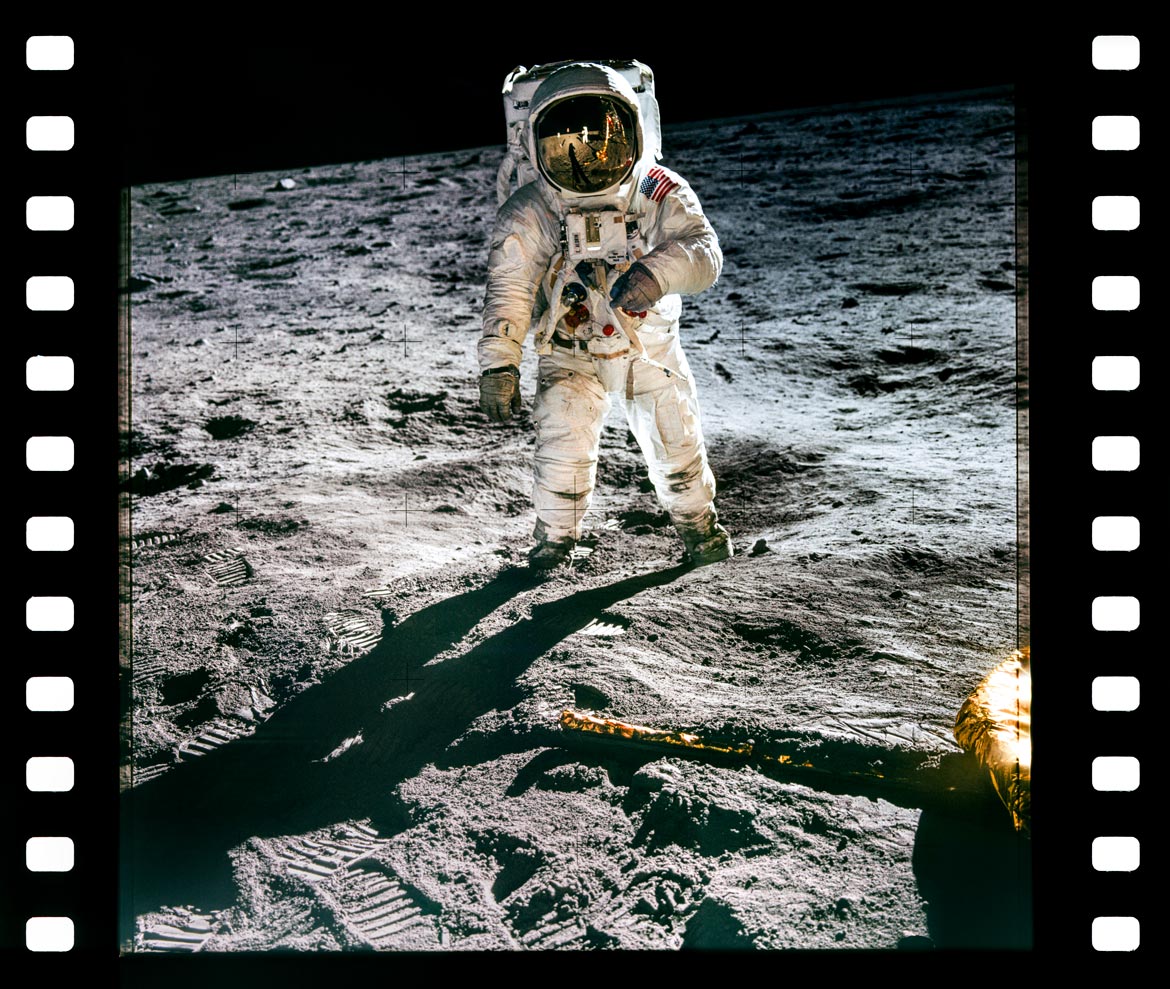
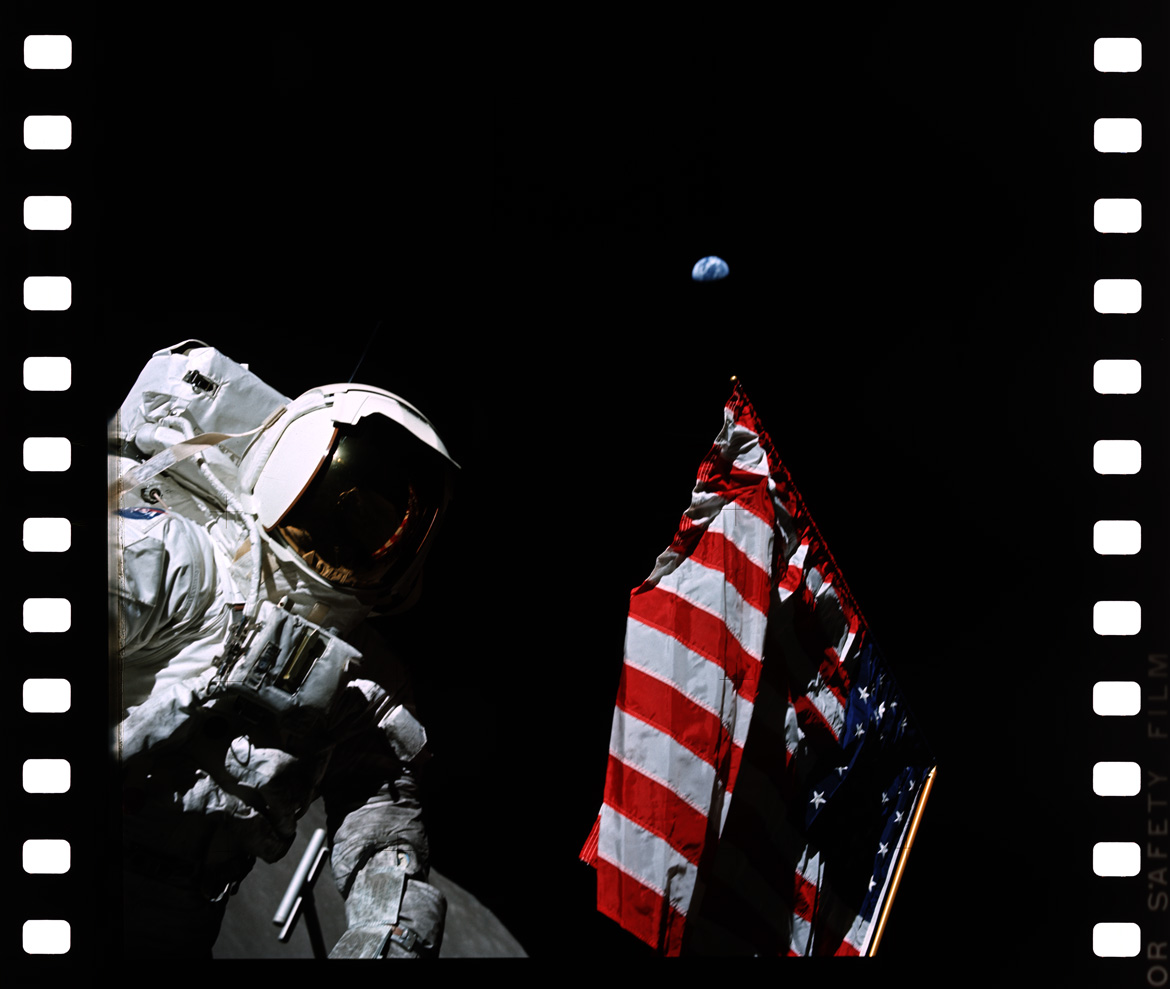
Half of the Moon landing conspiracy theories out there are made by recluse naysayers; the other half are made by those who know the event to be true, but further escalate the myth because it’s just too much fun bamboozling the good people of planet Earth. Me? I like to split the difference. I have always been in the camp that believes NASA, along with tens of thousands of private contractors, were able to keep their cake-holes shut and go along with the greatest hoodwink ever. [Sources close to me have it, there were bonus checks involved.] In fact, they were so successful with the Apollo 11 Moon landing prank they decided to do it six more times and why not? Apollo 13 was just a necessary red herring because a perfect record of successful Moon landings surely would have had the public asking questions – can’t have that happening. Those rocket scientists sure are a smart bunch!


My favorite denial question: "Oh really? Then where are all the stars?”, referring to the blackness in the background. The simple answer is, you would need a very long exposure to capture those, thus grossly overexposing the sunlit subject in the image. Again, if your imagination stubbornly persist, NASA will soon be swindling us all yet again with the Artemis program.